![]() Hello! Glad to see you. I’m doing a quick copy-and-paste job to make the free patterns more readily available. Please reach out if you have questions. I’d be happy to help you finish your project.
Hello! Glad to see you. I’m doing a quick copy-and-paste job to make the free patterns more readily available. Please reach out if you have questions. I’d be happy to help you finish your project.
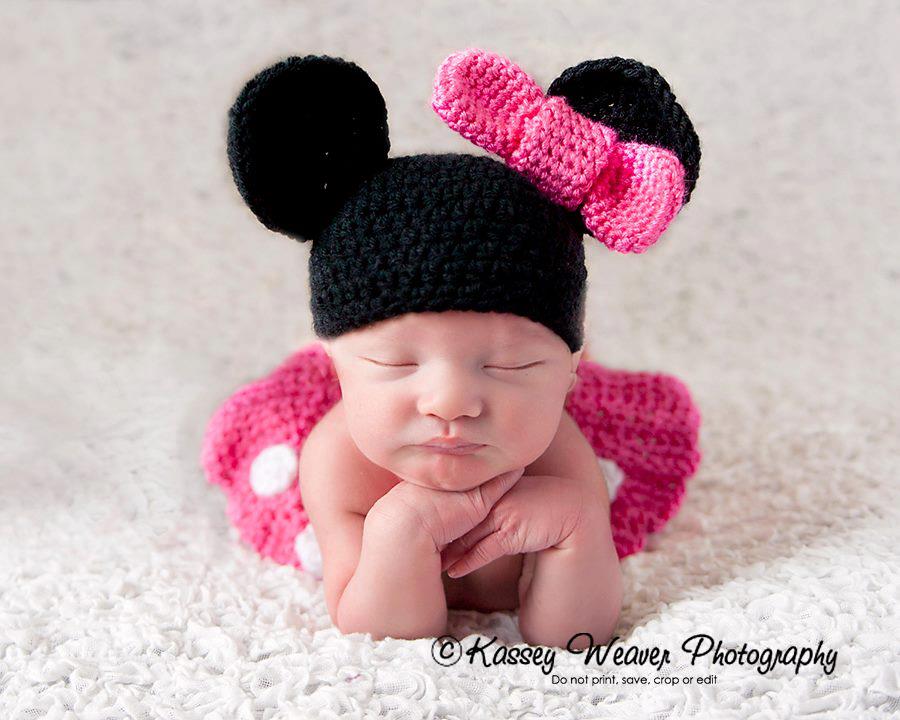
So, here’s the skinny on the Minnie! The photo above is made with Caron Simply Soft for the pink and white, but used I Love This Yarn on the hat for a sturdier finish. The photo below is made with Caron One Pounder, worsted-weight yarn, and an H hook. I used slip stitches, single crochet, half-double crochet, and double crochet. I also prefer to use chainless foundations for small and simple projects like this, but instructions for a chain foundation are below as well. Please work in the back loops only on every row to create a ribbing and pleated appearance.
Row 1, option 1: Chain 17, turn, sl st in the next 4 ch, sc in the next 4 ch, hdc in the next 4 ch, dc in the last four ch. Chain 2, counts as first dc here and throughout. Turn.
The photo below shows both options for Row 1. Option 1 is on the top, and option 2 is on the bottom.
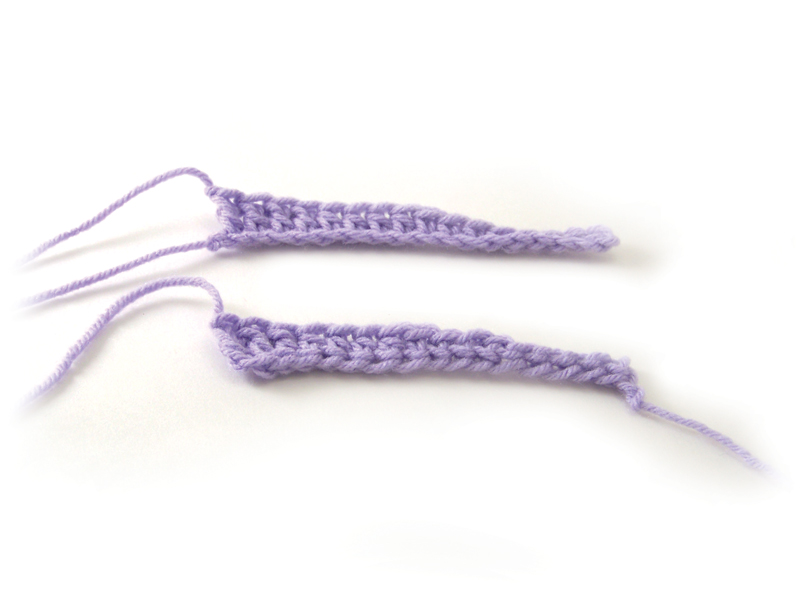
Row 1, option 2: using the chainless foundation technique, work 4 fslst, 4 fsc, 4 fhdc, and 4fdc. Chain 2, counts as first dc here and throughout. Turn.
Row 2 is the same for either starting row: work dc in the next 3 dc, work 4 hdc in the next 4 hdc, work 4 sc in the next 4 sc, work 4 sl st in the last 4 sl st at the end of the row. Chain 1. This is only a turning chain, here and throughout, do not count it as a stitch.
THERE WAS A TYP-O HERE. IT HAS BEEN CORRECTED. Row 3: work 4 sl st in the next 4 sl st, work 4 sc in the next 4 sc, work 4 hdc in the next 4 hdc, work 4 dc in the last 4 stitches(dc) of the row. Ch 2. Turn.
Rows 4-45, repeat rows 2 and 3. Fasten off. Fold the piece in half and stitch the first and last rows together to complete the skirt.
You can add a few of each stitch to each row to make it longer in length. Then add rows to increase the size of the waist.
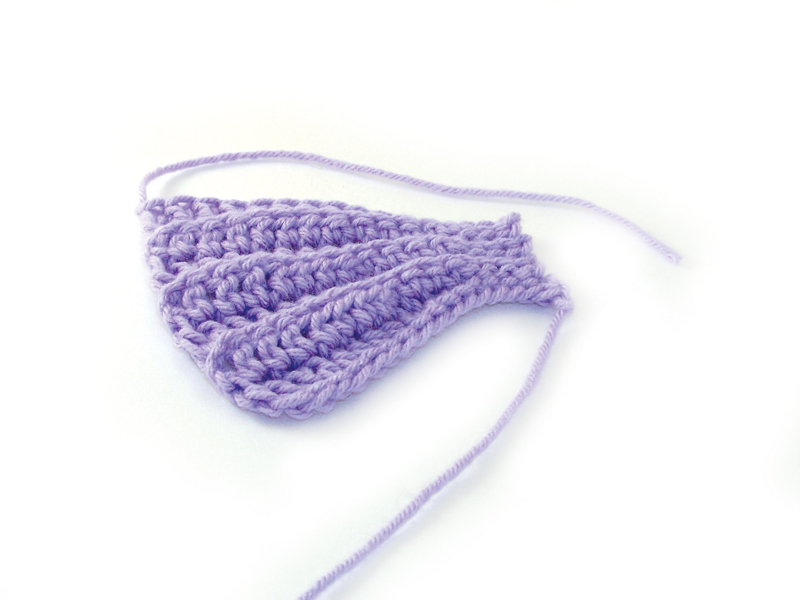
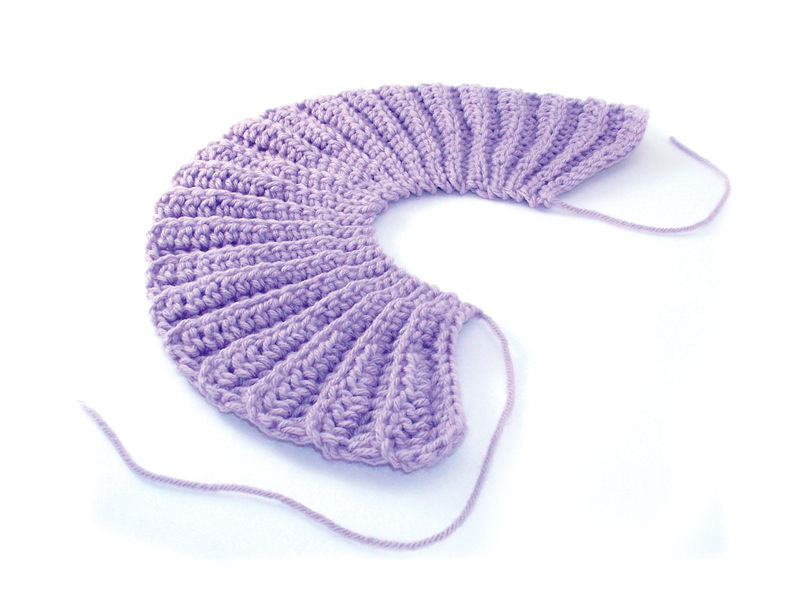
This photo shows the first few rows.
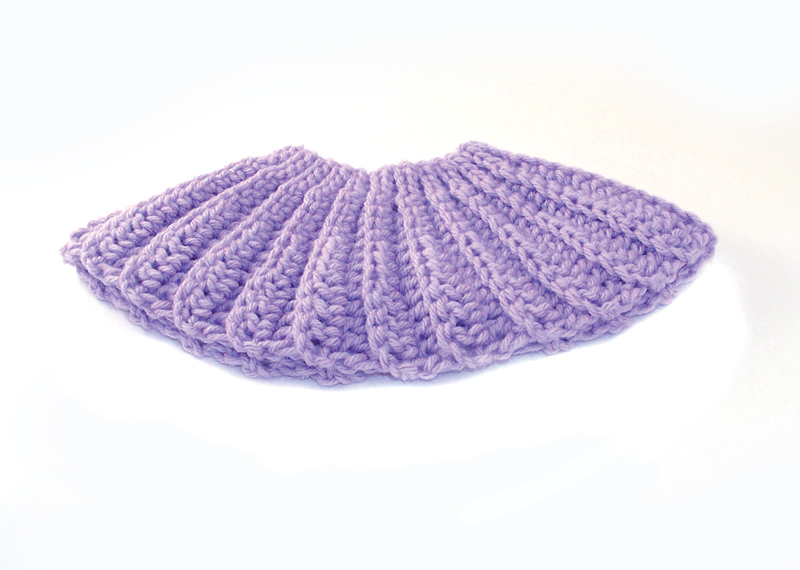
The next photo shows the completed “rectangle.” It turns naturally, with the use of graduated stitches. I learned this technique in a book called Crochet That Fits.
Here’s the skirt folded, before stitching.
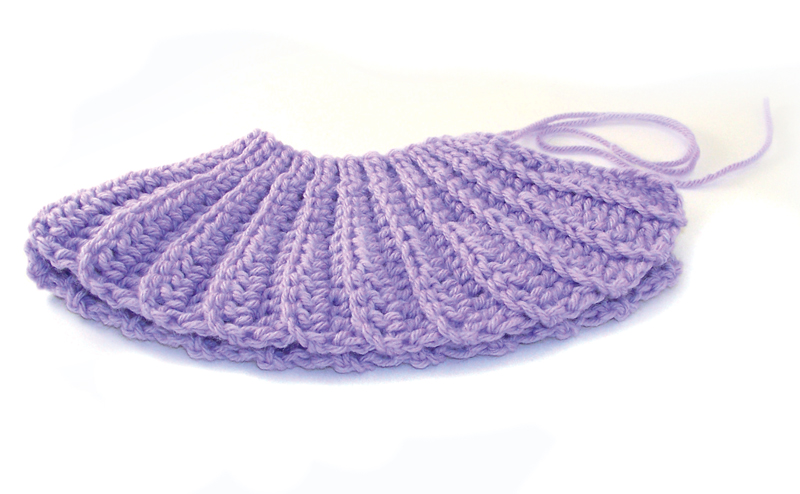
I used a whip stitch to stitch the ends together. And just slipped it over the diaper cover. They are separate pieces. This way, the diaper cover itself can be worn with more than one outfit. A girl’s wardrobe needs versatility, no?
You could also change color on every row, or every other row to create a striped skirt. You can crochet a few 12 dc circles or use buttons to use as polka dots.
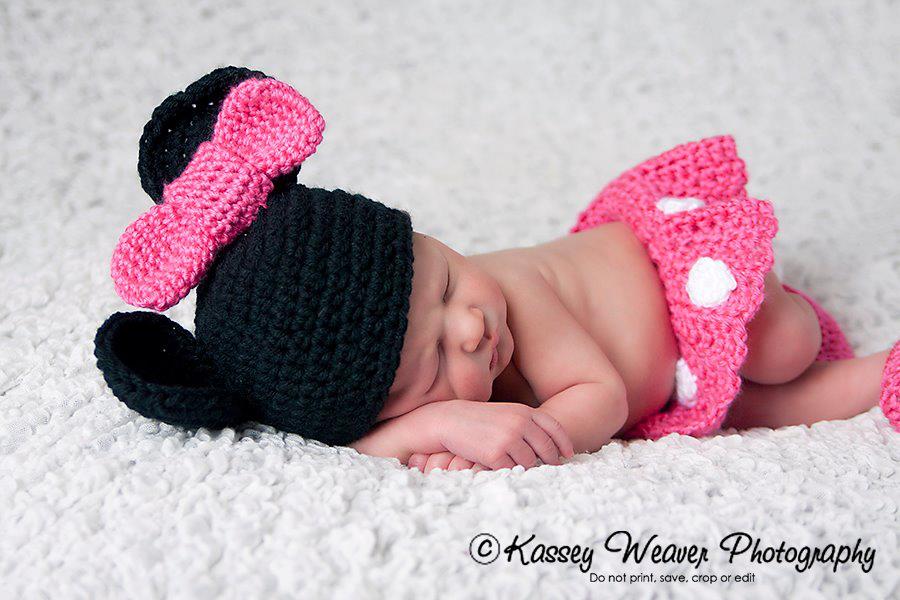
Custom Mini Mouse Photo Prop Set
If you’re wondering, about the other pieces of the outfit, I just improvised all of them. On the beanie, I used my own HDC Basic Beanie without the ear flaps and stopped the increases on row 5 for a newborn size cap.
For the ears on the cap, I used two strands of worsted weight yarn, a G hook and made an effort to keep my stitches tight. All of this will help the ears stand on their own. I believe I did circles using rounds in multiples of 6, for 5 or 6 rows and shorted the last row a few stitches to leave a flatter edge to stitch to the beanie.
For the bow, I used a G hook, and did two simple tubes using a ch 6 or 7 and worked around both sides of the chain. I stitched the tubes shut and wrapped one around the other and stitched them together, then used a bobbie pin to attach to the beanie.
For the booties, I did a simple ballet style bootie. It too is improvised, but there are plenty of free patterns for similar slippers.
For the diaper cover under the skirt, you can find my free tutorial here.
I hope the directions and the tutorial for the Minnie Inspired Crochet Skirt were easy to read, helpful and enjoyable to make.
Y’all holler with questions or suggestions!